A neatly trimmed lawn is the pride of any homeowner. A well-cared-for lawn not only looks good but can also add value to your property. But how do you achieve a beautiful lawn?
Lawn mowing can be a daunting task, but it's essential to do it correctly to keep your lawn healthy and looking great. Many people make common mistakes when mowing their lawns, leading to brown patches, scalping, and other problems.
Our guide will show you how to mow your lawn correctly to get the best results with minimal effort. We'll walk you through the process step-by-step and provide helpful gardening tips.
The Step-By-Step Process of Mowing a Lawn
Mowing a lawn is not as simple as just driving the mower around in circles. For best results, there are specific steps you must follow.
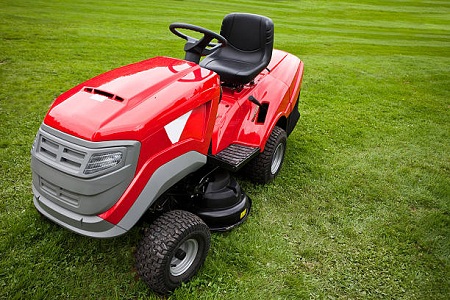
Step 1: Choose the Correct Mower for Your Lawn
The type of mower you use can have a significant impact on how your lawn looks and the health of your grass. Walk-behind mowers are ideal for smaller yards, while riding mowers are better suited for larger areas.
You should also consider the blade size, power source (electric or gas), and other features when selecting a mower.
Step 2: Check the Mower Blades
The condition of the blades is essential for getting a good cut. Dirty or dull blades can tear grass, leave jagged edges, and create an uneven finish. Make sure to check your mower's blade before every use and sharpen or replace it as necessary.
Step 3: Set the Mowing Height
Cutting your grass too short is known as scalping, and it can damage the roots of your grass, leaving ugly brown patches on the lawn. To avoid this, make sure to set the mower blades at a suitable height for your type of grass.
For most types of grass, you'll want to keep the blade at about two to three inches in height. However, if you're not sure what's ideal for your yard, contact a professional landscaper or consult with a local nursery.
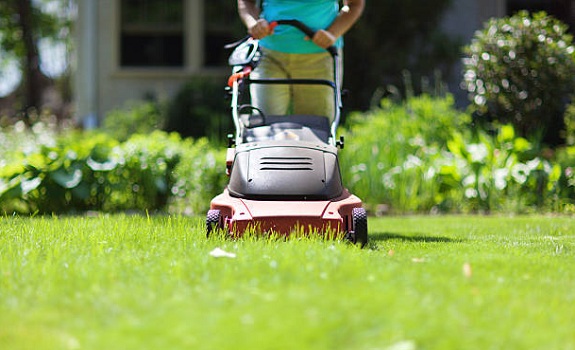
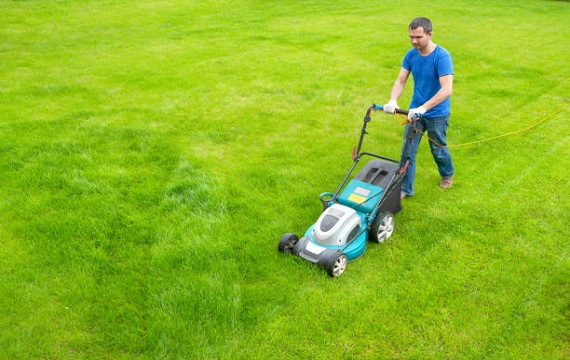
Step 4: Mow in Patterns and Overlap Passes
When you begin mowing, start at one edge of the lawn and work in a straight line. Make sure to overlap each pass, which will help the grass to look even and reduce the amount of time you spend mowing.
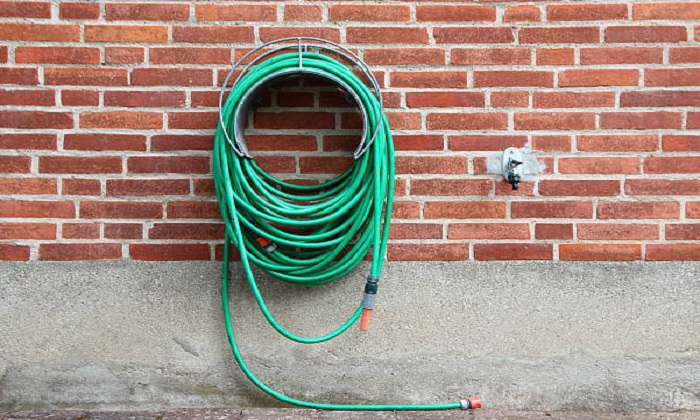
RELATED ARTICLE: How to Flush the Radiator with a Garden Hose
Once you have finished one row, turn around and mow in the opposite direction. This overlapping pattern should be repeated until the entire lawn has been cut.
5. Sweep up Clippings
Sweep up any clippings that remain on your lawn after mowing. Leaving these behind can smother the grass and lead to problems such as brown patches and growth stunting. Once the clippings have been removed, your lawn should look neat and tidy.
Offer Tips for Avoiding Common Mistakes
Mowing a lawn is a skill that requires practice to master. As you become more experienced, some common mistakes can be avoided to achieve the best results. Here are some precautions you should take when mowing your lawn:
- Don’t Cut Too Short: Cutting your grass too short can cause it to dry out more quickly and encourages the growth of weeds.
- Don’t cut too often: Mowing too often will stress your grass and can prevent it from growing properly.
- Sharpen Your Blade Regularly: A dull mower blade can tear or rip grass instead of cutting it, making it more vulnerable to disease. It’s crucial to maintain a sharp blade for the best results.
- Don’t Mow When the Grass Is Wet: This can lead to clumping and makes it harder for the mower to move through the grass properly.
- Don’t Overfill Your Mower Bag: An overflowing mower bag will slow you down and make it challenging to maintain a level cut evenly.
By following these tips, you can avoid common lawn mowing mistakes and achieve a better-looking result with less effort.
Final Thought
Now that you have the basics, it is time to get mowed. Properly caring for your lawn can help it stay healthy and attractive. When done correctly, regularly mowing your lawn will result in a beautiful, lush turf that will envy your neighbors. Keep these tips in mind, and soon, you'll be mastering this task with ease.
We hope this guide to mowing a lawn correctly has been helpful. As always, consult with a professional if you are unsure about any aspect of lawn care and maintenance. Thanks for reading, and happy mowing.